
Common Mistakes to Avoid
Adding too much flour: The dough becomes stiff, and the baked loaf can be dry. Add only enough for manageable kneading and shaping.
Using water that is too hot: Keep the water lukewarm. Very hot water can interfere with yeast activity.
Scoring with a dull knife: It can pull on the surface rather than cut cleanly. Use your sharpest suitable knife or a bread lame.
Scoring too early: Make the cuts immediately before the loaf enters the oven.
Overloading the top with garlic before baking: Minced garlic may darken faster than the bread. Use the warm garlic butter finish for most of the garlic flavor.
Slicing as soon as the loaf leaves the oven: A short rest improves the texture of the slices and makes them easier to cut.
Variations and Substitutions
Rosemary Garlic Herb Bread
Replace the thyme in the dough with 1 teaspoon finely chopped fresh rosemary. Rosemary has a stronger flavor, so a smaller amount is a good starting point. Use a little more on the surface if you like its aroma.
Parsley and Garlic
Use thyme in the dough and parsley in the finishing butter. Parsley gives the baked loaf a fresh green finish, especially when brushed on just before serving.
Make It Less Garlicky
Use two garlic cloves instead of three in the finishing butter. The bread will still have an herb-scented crust and a gentle garlic note.
Make a Plain Herb Loaf
Leave the garlic out of the butter. You can brush the loaf with melted butter and herbs alone if it needs to accompany a strongly flavored main dish.
Use All-Purpose Flour
You can substitute the same weight of all-purpose flour. The dough may feel softer and the loaf may have a slightly less chewy crumb. Add any handling flour sparingly.
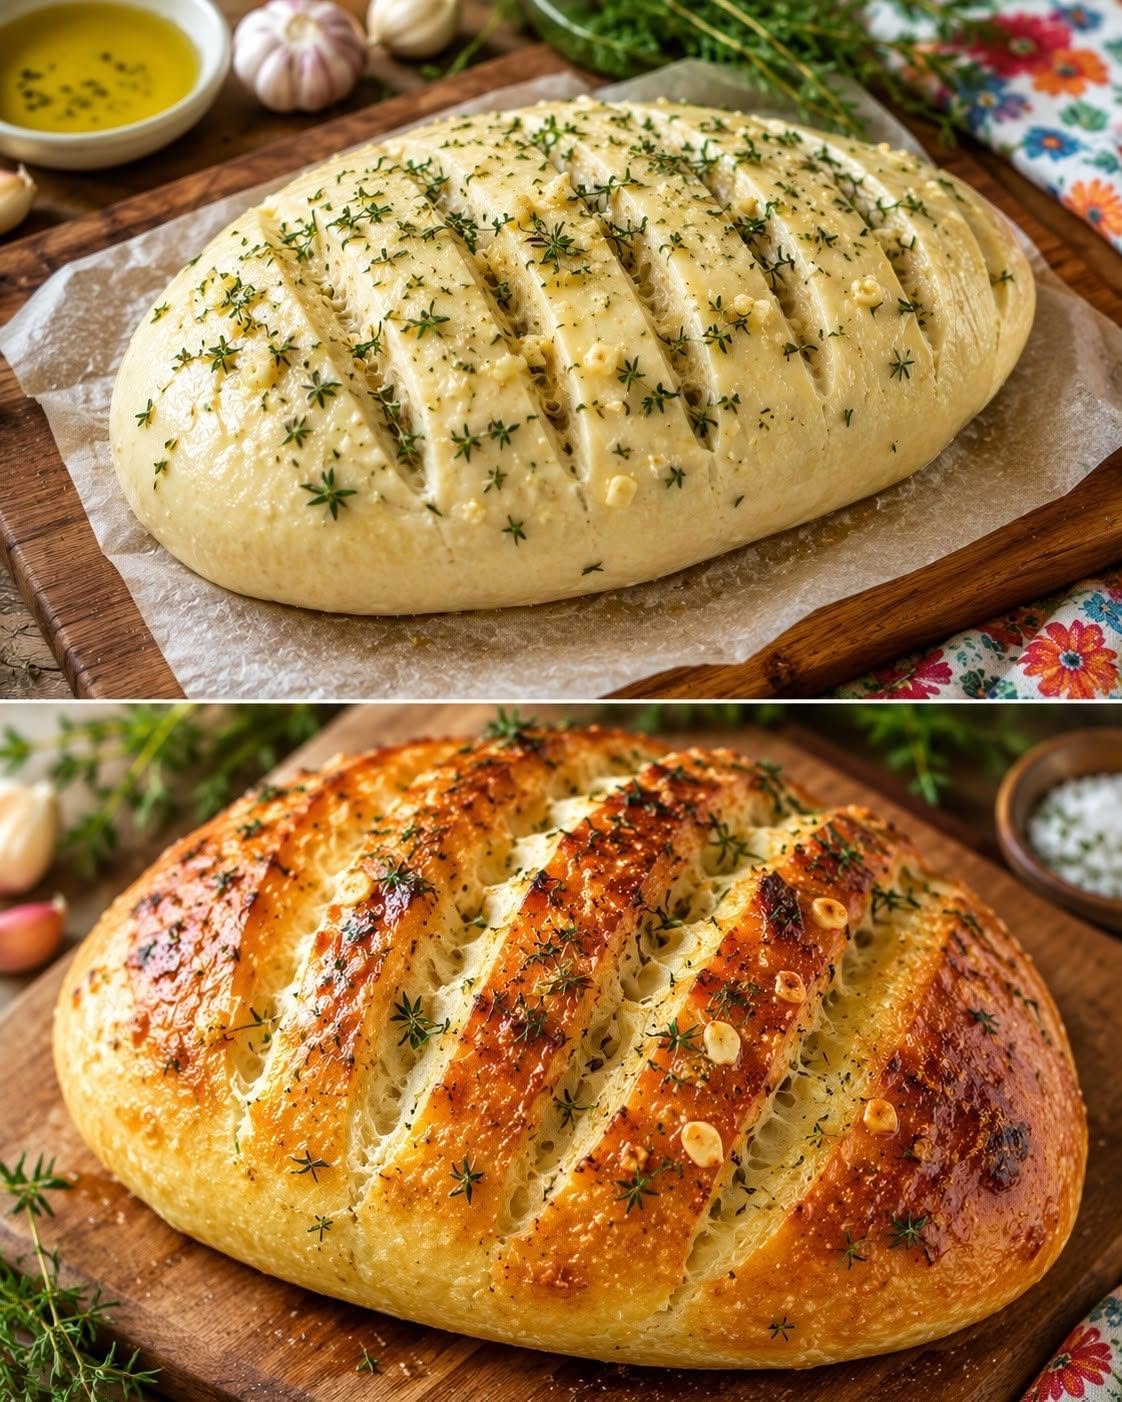
For the closest result to the image, keep garlic herb bread as one broad oval loaf and make the diagonal scores across its full top.
What to Serve with Garlic Herb Bread
Serve thick slices with tomato soup, vegetable soup, or a bowl of chili. The soft interior is good for dipping, while the crust holds together when you pick up a slice.
Pasta is another easy pairing. Set the loaf on the table beside a saucy baked pasta or a simple tomato-based dinner. If your website has a tomato soup recipe or a pasta dinner that genuinely fits, link to it naturally in this section so readers can plan a complete meal.
For a lighter lunch, serve slices with a large salad and cheese. You can also split leftover pieces and toast them lightly for sandwiches. The garlic butter is already on the crust, so taste a slice before adding other spreads.
If you plan to serve garlic herb bread to guests, bring out the whole loaf first, then slice it at the table. The open scores and herbs are part of its appeal.
Make-Ahead Instructions
You can prepare the dough earlier in the day, let it complete its first rise, and shape it when you are closer to baking. Bread timing will vary with room temperature, so use the dough’s size and feel to guide each stage.
For a longer pause, cover the dough and refrigerate it after mixing and some initial rising. Let it warm enough to handle, shape it, and allow the shaped loaf to become puffy before baking. Because refrigerated dough is cooler, that second rise may take longer than the time listed in the main method.
The most predictable make-ahead option is to bake the loaf completely and freeze it once cooled. Rewarming a baked loaf is easier to schedule than trying to time yeast dough to an exact dinner hour.
Prepare the garlic butter shortly before serving if possible. Brushing it onto a rewarmed loaf gives the garlic herb bread a fresher aroma.
Storage, Reheating, and Freezing
Room-Temperature Storage
Let the loaf cool completely before wrapping it. Store it well wrapped at room temperature and enjoy it within about 2 days for the best crust and crumb. Do not seal it while still warm, or condensation may soften the surface.
King Arthur Baking recommends freezing bread you will not eat within a couple of days to preserve its quality.
How to Reheat It
Warm the loaf or individual slices in a 325°F (165°C) oven until heated through. A whole loaf will take longer than a few slices. If the crust begins to darken too much, cover it loosely with foil.
For toast, place slices in a toaster oven or under a closely watched broiler. Garlic and herbs on the surface can brown quickly, so do not leave them unattended.
How to Freeze It
Wrap the completely cooled loaf well, either whole or in slices, then place it in a freezer-safe bag. Slices let you remove only what you need. For the best quality, use the bread within about 2 months.
Thaw it wrapped at room temperature, then refresh it briefly in the oven. If you have frozen a loaf without the butter finish, make fresh garlic butter and brush it on after warming.
Frequently Asked Questions
Is the loaf in the photo sourdough?
The photo does not establish what leavening was used. This garlic herb bread recipe uses instant yeast and does not require a sourdough starter.
Can I make it without a stand mixer?
Yes. A bowl, spoon, and your hands are sufficient. Kneading by hand takes about 8–10 minutes, depending on how quickly the dough becomes smooth and elastic.
Why did my loaf spread instead of rising upward?
Possible causes include dough that was too wet, loose shaping, or a second rise that went on too long. Shape a firm oval with the seam underneath and bake when the dough is puffy but still holds its outline.
Do I need a bread lame to make the cuts?
No. A sharp, thin-bladed knife can work. Make the cuts swiftly so the blade goes through the dough’s surface without dragging it.
Can I put garlic inside the dough?
You can add a small amount, but minced garlic may distribute unevenly, and its flavor changes during the long rise and bake. This version gets its strongest garlic note from the butter brushed onto the hot loaf.
Why is my bread gummy in the middle?
It may need more baking time, or it may have been sliced while extremely hot. Check the thickest part for a baked center and let the loaf rest on a rack before cutting.
Can I use dried herbs?
Yes. The recipe gives a dried thyme option for the dough. Dried herbs are more concentrated by volume, so begin with the stated smaller amount.
Recipe Card: Garlic Herb Bread
Yield: 1 oval loaf, approximately 10–12 slices
Oven: 400°F (200°C)
Hands-on time: About 25–30 minutes
Rising: About 1½–2½ hours total
Bake time: About 30–35 minutes
Ingredients
Dough
- 4 cups (500 g) bread flour
- 2 teaspoons instant yeast
- 2 teaspoons fine salt
- 1 teaspoon sugar
- 1¼ cups plus 1 tablespoon (315 ml) lukewarm water
- 2 tablespoons olive oil
- 2 teaspoons fresh thyme leaves, finely chopped, or ¾ teaspoon dried thyme
Surface
- 1 tablespoon olive oil
- 1 teaspoon fresh thyme leaves
- Flaky salt, optional
Garlic butter
- 3 tablespoons unsalted butter
- 3 garlic cloves, finely minced
- 1 teaspoon fresh thyme or parsley, chopped
Instructions
- Combine flour, yeast, salt, sugar, and thyme. Add water and 2 tablespoons olive oil. Mix into a rough dough and rest for 10 minutes.
- Knead until smooth and elastic, approximately 8–10 minutes by hand. Cover and let rise until puffy and roughly doubled, 60–90 minutes or as needed.
- Shape into a firm oval about 10–11 inches long. Set seam-side down on a parchment-lined baking sheet. Cover and rise until puffy, about 35–50 minutes.
- Heat oven to 400°F (200°C). Brush loaf with 1 tablespoon olive oil, add thyme and optional flaky salt, and make four or five diagonal cuts across the top.
- Bake 30–35 minutes, until deeply golden and approximately 190°F (88°C) in the center.
- Gently warm butter and garlic together for 30–60 seconds; remove from heat and add herbs. Brush over the hot loaf.
- Cool on a rack for 20–30 minutes before slicing.
-
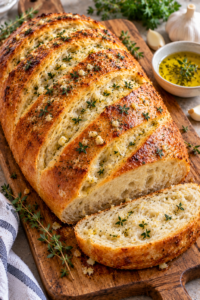
Brush the baked loaf with garlic butter and let it rest before slicing.
Final Thoughts
A well-shaped loaf of garlic herb bread needs only a few familiar ingredients to become the centerpiece of a meal. Let the dough rise until airy, cut its surface just before baking, and give it time to turn golden. The garlic butter finish brings the loaf together while it is still warm, ready for thick slices at the table.