
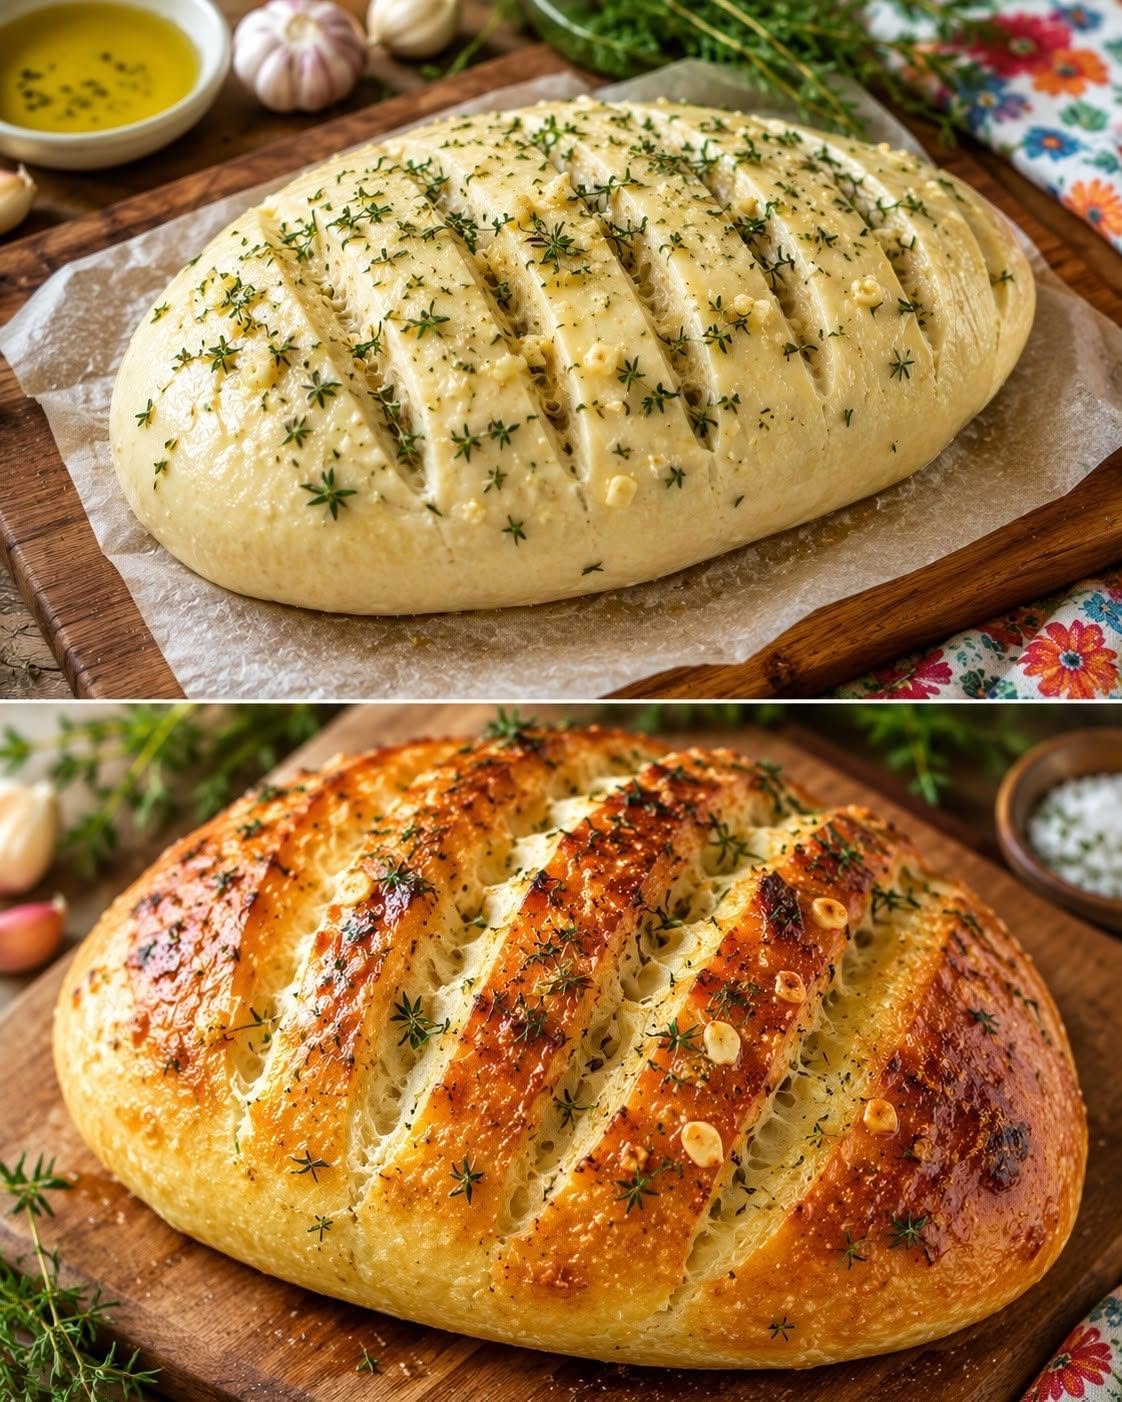
How to Make Garlic Herb Bread
1. Mix the Dough
In a large bowl, whisk together the bread flour, instant yeast, salt, and sugar. Stir in the chopped thyme.
Pour in the lukewarm water and 2 tablespoons olive oil. Mix with a sturdy spoon until no large patches of dry flour remain. The dough will look rough at first, and that is fine. Cover the bowl and let it rest for 10 minutes. This brief pause makes the dough easier to knead.
If there is still loose flour at the bottom after resting, work it into the dough with your hands. If the dough seems unusually dry and will not come together, add water a teaspoon at a time. If it is sticky, resist adding a large handful of flour immediately; kneading often improves its texture.
2. Knead Until Smooth
Turn the dough onto a lightly floured work surface. Knead for 8–10 minutes, folding and pressing it until it becomes smoother and elastic. You can also knead it in a stand mixer fitted with a dough hook for about 6–8 minutes on a low speed.
The finished dough should feel supple and slightly tacky. It does not need to be completely dry to the touch. Too much extra flour makes garlic herb bread heavier than intended.
Shape the dough into a ball by tucking its edges underneath. Lightly oil a clean bowl, add the dough, and turn it once to coat the surface.
3. Let the Dough Rise
Cover the bowl and leave it in a comfortable room-temperature spot until the dough is noticeably puffy and approximately doubled, usually 60–90 minutes. In a cool kitchen, it may take longer.
Yeast does not follow the clock exactly. Give the dough the time it needs. If you are unsure whether it has risen enough, compare its size with when you first placed it in the bowl: it should be visibly larger and feel airy when gently handled.
The first rise builds the structure that helps garlic herb bread hold its oval shape. Avoid moving on while the dough still looks compact and heavy.
4. Shape the Oval Loaf
Line a baking sheet with parchment paper. Turn the risen dough onto a lightly floured surface and gently press it into a rough rectangle. Fold the top edge toward the center and press the fold lightly. Fold the bottom edge up and over it, then pinch along the seam.
Roll or tuck the ends slightly to form a broad oval, about 10–11 inches (25–28 cm) long. Place the loaf seam-side down on the prepared baking sheet. Use your hands to straighten its shape if necessary.
You want some tension across the top, which helps the loaf rise upward instead of spreading widely. Be gentle enough to preserve some of the air created during the first rise.
5. Give It a Second Rise
Cover the shaped loaf loosely with lightly oiled plastic wrap or a clean kitchen towel. Let it rise for approximately 35–50 minutes, until puffy.
Toward the end of this rise, heat the oven to 400°F (200°C). Position a rack in the center. Avoid letting the loaf overproof while waiting for the oven; start preheating with enough time for it to reach temperature.
The shaped garlic herb bread should expand noticeably but still have enough strength to hold its oval outline. When you press the dough gently with a floured fingertip, the indentation should begin to spring back slowly.
6. Brush and Score the Loaf
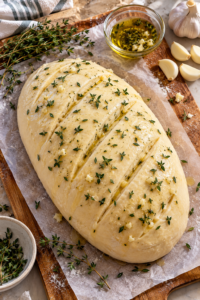
Remove the covering. Lightly brush the top with 1 tablespoon olive oil, then scatter over the thyme leaves and optional flaky salt.
Use a very sharp knife or bread lame to make four or five diagonal cuts across the top, similar to those in the image. Work with quick, confident movements. The cuts should break through the taut surface without slicing the loaf almost in half.
Scoring gives the expanding dough a place to open during baking. King Arthur Baking’s guide to scoring bread dough explains how these cuts help direct a loaf’s expansion in the oven.
Score immediately before baking. If you cut the loaf and leave it sitting for a long time, the openings may soften and lose definition.
7. Bake Until Golden
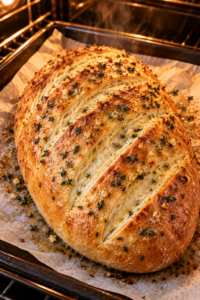
Put the baking sheet on the center rack and bake for 30–35 minutes. The loaf should turn deep golden brown, and the scores should open to reveal lighter bread underneath.
If one side browns noticeably faster than the other, rotate the baking sheet after about 20 minutes. Do not judge the loaf solely by its glossy surface; check the center as well. A digital thermometer inserted into the thickest part should read approximately 190°F (88°C). King Arthur Baking uses at least 190°F as a benchmark for a baked yeast loaf.
Transfer the baked garlic herb bread to a wire rack. Leaving it on the hot baking sheet for too long can trap moisture underneath and soften the bottom crust.
8. Make the Garlic Butter Finish
While the loaf bakes, melt the butter over low heat in a small saucepan. Add the minced garlic and cook gently for 30–60 seconds, stirring until fragrant. Do not let it brown deeply. Remove from the heat and stir in the remaining thyme or parsley.
Brush the warm garlic butter over the top of the freshly baked loaf, concentrating a little in the scored openings. You may not need every drop if you prefer a less buttery finish.
Let the loaf rest for at least 20–30 minutes before slicing. The interior continues to set as it cools. Cutting it immediately can make the crumb seem gummy and allow more steam to escape than necessary.
How to Get the Look in the Photo
The image’s strongest feature is the contrast between the pale, scored dough and the finished loaf’s golden ridges. Three steps help create that appearance.
First, shape the dough into a smooth oval. A loose shape tends to spread sideways, which can make the scores look shallow after baking. Tucking the seam firmly underneath gives the surface gentle tension.
Second, wait until just before baking to score. A sharp blade creates clean openings that can expand in the oven. A dull knife may drag the dough and flatten it.
Third, let the loaf develop enough color. A lightly baked loaf may be fully edible but will not have the rich golden appearance shown in the reference photo. Watch closely in the final minutes, using the center temperature to check that it is baked through.
The photo also appears to show small pieces of garlic on the surface before baking. This recipe puts most of the garlic in the finishing butter to reduce the risk of burnt bits. If you choose to sprinkle a very small amount on before baking, tuck it into the scores rather than leaving exposed pieces across the highest ridges, and watch the loaf as it browns.
Important Tips for the Best Loaf
Measure Flour Carefully
A kitchen scale is the easiest way to get 500 g of flour. If you use measuring cups, spoon the flour into them and level the top. Scooping directly from a bag can pack in more flour than intended.
Keep the Dough Slightly Tacky
A soft dough can feel unfamiliar if you usually make stiff bread dough. Dust your hands lightly when shaping, but add flour in small amounts. This helps the loaf bake with a tender interior.
Use the Herb Leaves, Not Tough Stems
Thyme’s thin stems can be woody. Strip the leaves before mixing them into the dough and before scattering them over the surface.
Do Not Rush the Second Rise
The loaf needs to regain some volume after shaping. If it goes into the oven while still tight and dense, it may burst unpredictably or bake with a compact crumb.
Cool It on a Rack
Air circulation underneath helps preserve the bottom crust. The loaf will still be pleasantly warm after its 20- to 30-minute rest.