
How to Thaw Frozen Shrimp Safely
For advance planning, put the packaged shrimp in a bowl or tray in the refrigerator and allow them to thaw overnight. The bowl catches any liquid as the ice melts.
For a faster method, seal the shrimp in a leakproof bag and submerge the bag in cold water. Once thawed, cook them promptly. The FDA’s guide to selecting and serving seafood recommends refrigerator thawing or, when time is short, cold-water thawing in a sealed bag. Do not leave the shrimp to thaw on the kitchen counter.
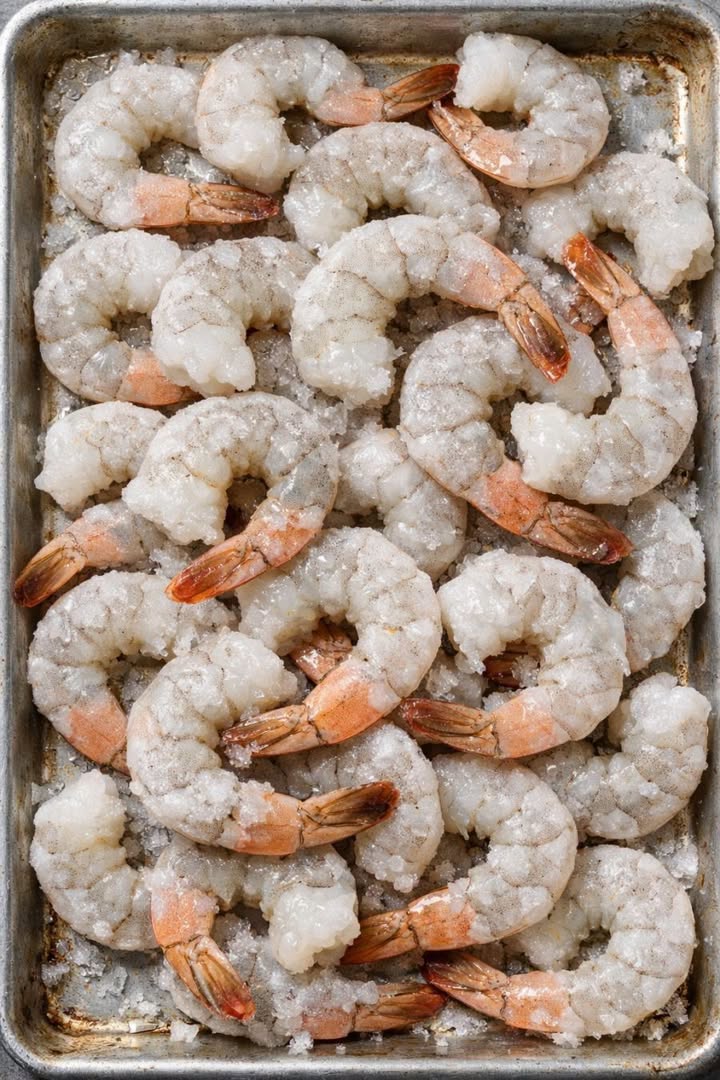
The photo shows shrimp spread across a metal tray. That makes the frozen pieces easy to see, but a tray at room temperature is not a safe thawing method. Use the refrigerator or the sealed-bag cold-water method instead.
After thawing, drain the shrimp. Spread them on a plate or tray lined with paper towels and pat them dry, including underneath. If you notice any remaining ice, remove it before the shrimp enter the skillet.
How to Make Garlic Butter Shrimp
1. Prepare Everything Before Heating the Pan
Mince the garlic, chop the parsley, and squeeze the lemon. Measure out the water and seasonings. Shrimp cook quickly, so having the sauce ingredients ready prevents the first pieces from overcooking while you search for the next ingredient.
If the shrimp still have shells, peel them. Remove the dark vein along the back if your shrimp have not already been deveined. Whether you keep the tails is a serving preference.
Pat the shrimp dry once more. Lightly season them with the salt and black pepper.
2. Heat the Skillet
Place a large skillet over medium-high heat. Add the olive oil and 1 tablespoon of the butter. When the butter melts and the pan is hot, add the shrimp in a single layer.
Use two batches if your skillet cannot hold them without piling them up. Crowding the pan traps moisture. Cooking in batches may take a few extra minutes, but it makes it easier to see when each shrimp is done.
3. Cook the First Side
Let the shrimp cook undisturbed for about 1½–2 minutes. The exact time depends on their size and how hot the skillet is. Their lower edges should become opaque, and they should release from the pan without sticking firmly.
Turn the shrimp. Cook the second side for approximately 1–2 minutes, watching closely. Remove them to a clean plate once their flesh is pearly or white and opaque. FoodSafety.gov gives that appearance as the doneness guidance for shrimp.
If cooking in batches, repeat with the remaining shrimp. Add only a small amount of extra oil if the pan needs it. Do not put cooked shrimp back on a plate that held them raw unless the plate has been washed.
4. Make the Garlic Butter Sauce
Reduce the heat to medium-low. Add the garlic and optional red pepper flakes to the skillet. Stir for about 30–45 seconds, just until the garlic smells fragrant. If it starts browning rapidly, lower the heat. Burnt garlic can make the entire sauce taste bitter.
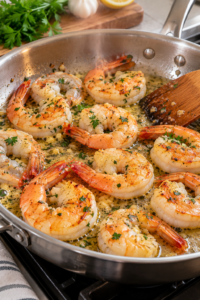
Pour in the water and lemon juice, stirring and gently scraping up flavorful bits from the bottom of the skillet. Add the remaining 3 tablespoons of butter, one piece at a time, stirring until melted. The sauce should look glossy and lightly coat a spoon.
Taste the sauce. Add a little more salt if needed, remembering that it will coat already seasoned shrimp.
5. Coat and Serve
Return the shrimp and any juices from the clean plate to the skillet. Toss gently for 30–60 seconds, just long enough to coat and heat them through. Stir in the parsley.
Serve immediately with lemon wedges. If you are putting the shrimp over pasta or rice, spoon the garlic butter sauce over each serving as well.
How to Tell When Shrimp Are Done
Raw shrimp change noticeably as they cook: the flesh becomes opaque, and the shrimp feel firmer. FoodSafety.gov advises cooking shrimp until the flesh is pearly or white and opaque.
Keep an eye on the thickest part rather than judging only by the outside. Shrimp can go from tender to rubbery quickly when left over the heat. As soon as they are cooked, move them out of the skillet while you prepare the sauce. Returning them briefly at the end gives them flavor without a long second cook.
Size, whether they were completely thawed, and the heat of your pan all affect timing. Treat the minutes in the method as a guide, not as a guarantee.
Tips for Tender, Flavorful Shrimp
Dry Them Thoroughly
Ice crystals and thawing liquid are the main obstacles when starting with frozen shrimp. If they go into the skillet wet, the pan temperature falls and the sauce becomes thin. Pat them dry just before cooking, even if you drained them earlier.
Work in Batches When Needed
A large package of shrimp may not fit comfortably in a household skillet. Give each piece contact with the pan. Transfer the first batch to a clean plate, then cook the second before making the sauce.
Keep Garlic Away from the Hottest Stage
The skillet is hottest when you first add the shrimp. Adding finely chopped garlic at that point risks burning it before the shrimp finish. Lower the heat and add it after the shrimp come out.
Finish the Sauce Off the Boil
Once the lemon juice and remaining butter are in the pan, a gentle heat is enough. Vigorous boiling can reduce the small quantity of sauce too far and leave it oily rather than glossy.
Serve It Right Away
Garlic butter shrimp is at its best shortly after cooking. Have your pasta, rice, vegetables, or bread ready before the shrimp enter the skillet.