
Easy-Peel Hard-Boiled Eggs: 7 Foolproof Tips
Meta Description: Make easy-peel hard-boiled eggs with smooth whites and golden yolks using this reliable method and seven practical peeling tips.
Hard-boiled eggs should emerge from their shells with smooth, attractive whites. Unfortunately, the shell sometimes refuses to cooperate, leaving behind torn surfaces, deep holes, and even exposed yolks.
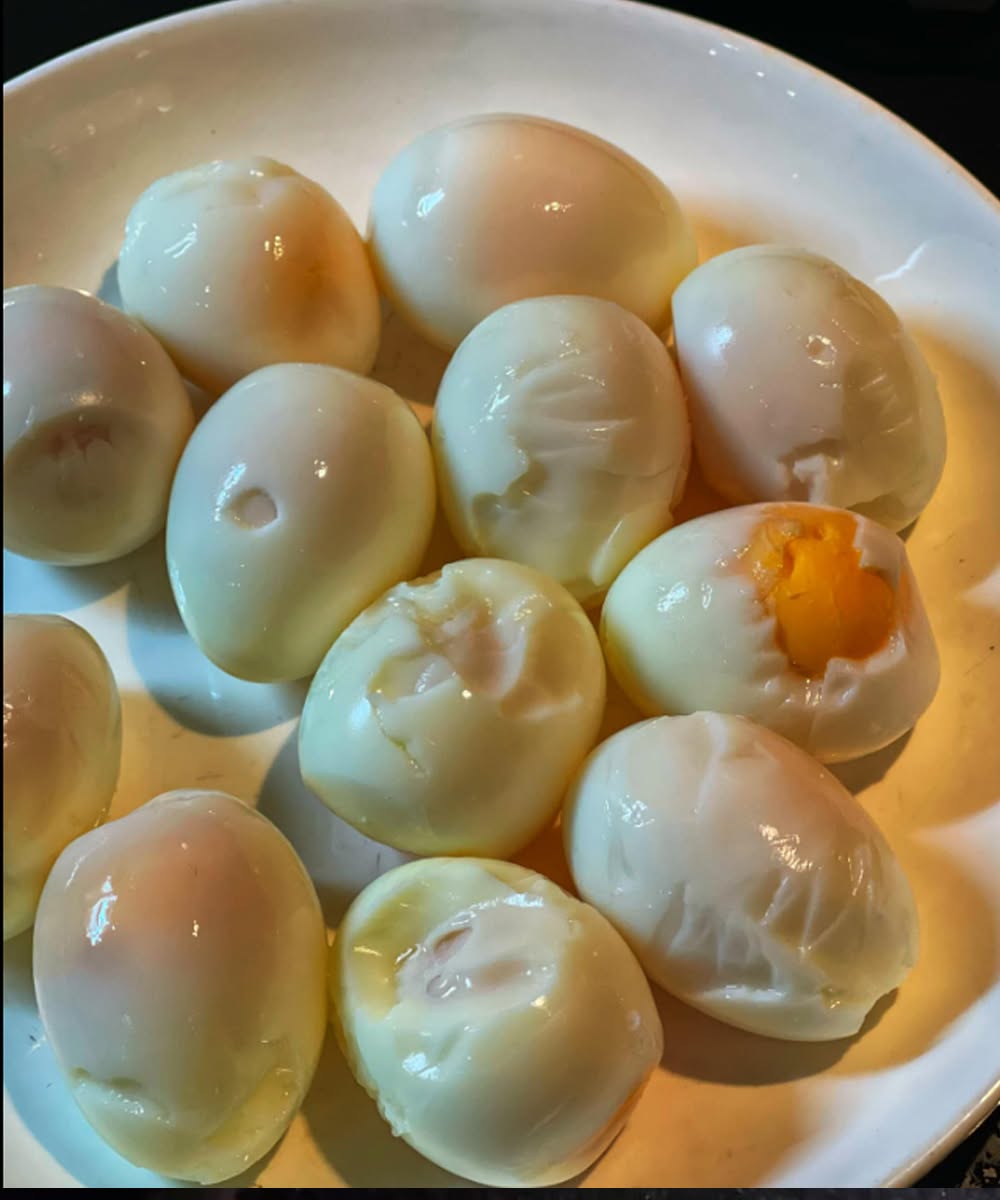
The eggs in the photo are still perfectly useful, but their damaged appearance shows that the inner membrane stuck firmly to the egg whites. This is especially common with very fresh eggs or eggs that were not cooled correctly.
Boiled Eggs: A Simple High Protein Food
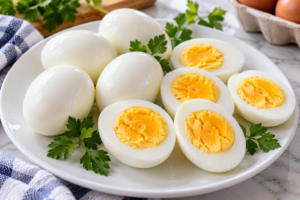
This easy-peel hard-boiled eggs method combines a hot-water start, accurate cooking time, and a proper ice bath. The result is firm whites, creamy golden yolks, and shells that are much easier to remove.
Making Easy-Peel Hard-Boiled Eggs becomes much simpler when you control the water temperature, cooking time, and cooling process. This method helps prevent torn whites while producing consistently firm and attractive eggs.
Why You’ll Love This Method
- It uses only eggs, water, and ice.
- The eggs cook evenly without gray or green yolks.
- Shells separate more easily from the whites.
- The method works for breakfast, snacks, salads, and meal preparation.
- Cooked eggs can be prepared several days ahead.
- Even damaged eggs can be transformed into delicious recipes.
Why Are Hard-Boiled Eggs Sometimes Difficult to Peel?
The shell is not attached directly to the cooked egg white. A thin membrane sits between them. When that membrane clings tightly to the white, pieces of egg are pulled away with the shell.
Several factors can cause this problem.
1. The Eggs Are Extremely Fresh
Fresh eggs are wonderful for frying and poaching, but they can be frustrating to peel after boiling. Their whites have a lower pH and tend to adhere more firmly to the membrane.
As eggs spend time in the refrigerator, their internal chemistry gradually changes. The membrane usually separates more easily after cooking. USDA guidance also notes that older eggs are generally better candidates for hard cooking.
For the best results, use refrigerated eggs that have been in your kitchen for approximately one week. They must still be within their safe use period.
2. The Eggs Were Started in Cold Water
A cold-water start can produce good hard-boiled eggs, but the gradual increase in temperature may encourage the white to bond with the membrane.
Placing eggs carefully into already-boiling water sets the outer white more quickly. This can help create a cleaner separation between the egg and its shell.
3. The Eggs Were Not Chilled Immediately
Eggs continue cooking after leaving hot water. Without rapid cooling, the whites can become firm and rubbery while the yolks may develop a gray-green ring.
An ice bath stops the cooking and helps the egg contract slightly inside the shell.
4. Peeling Started at the Wrong End
The wide end of an egg normally contains a small air pocket. Cracking this end first gives you a convenient place to slide a finger beneath the membrane.
5. The Shell Was Broken Into Pieces That Were Too Small
Picking away tiny fragments increases the chance of digging into the egg white. Gently cracking the entire shell creates larger sections that are easier to remove.