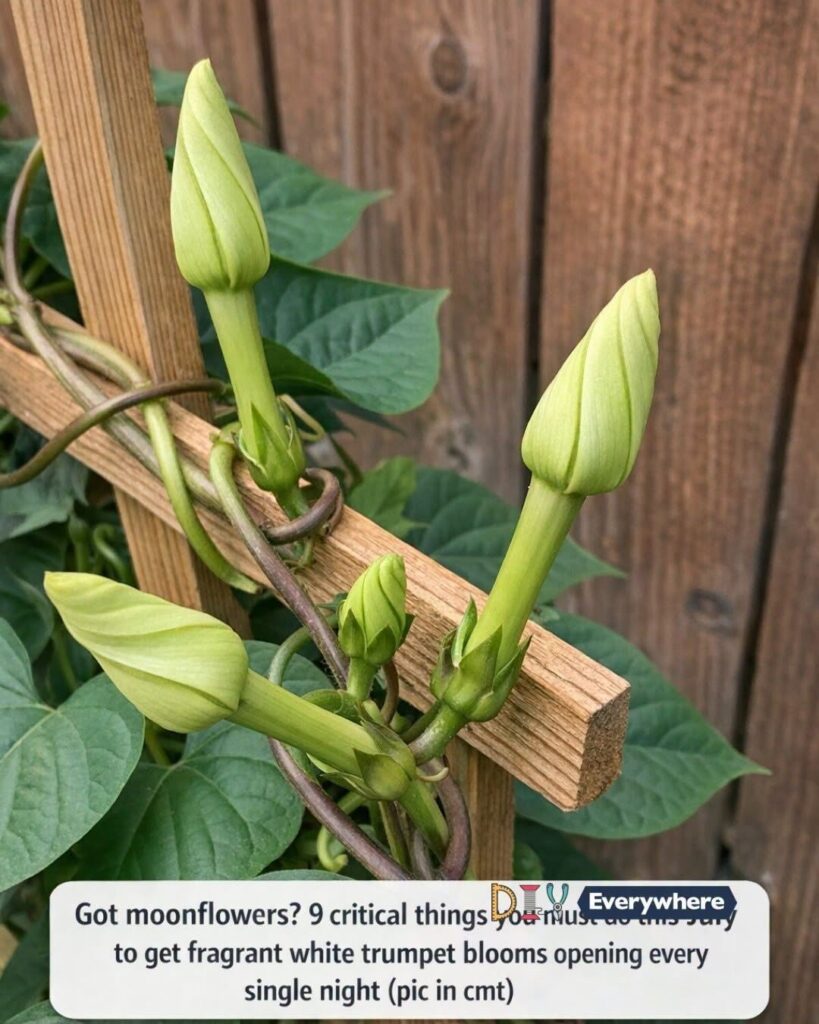
Got moonflowers? 9 critical things you must do this July to get fragrant white trumpet blooms opening every single night

If you grow moonflowers, July is the month when everything either clicks into place or gets frustrating fast. I’ve learned that the hard way in my own Midwest backyard, usually sometime after a hot workday when I head outside with a watering can, hoping for those huge white blooms by dusk and instead finding lots of leafy vine with very little show. Moonflowers can be absolutely spectacular in midsummer, but they do need the right kind of attention right now if you want those fragrant white trumpets opening night after night.

The good news is that July care is wonderfully practical. You do not need fancy products or a master gardener certificate. You need a few smart habits: steady moisture, the right feeding, better support, regular checking for pests, and a little strategic pruning. I’m going to walk you through the exact things I do in July to keep moonflowers growing hard, setting buds, and opening when the evening air finally cools down.

1. Check that your moonflowers are getting a full 6 to 8 hours of direct sun

Moonflowers will climb and survive in partial shade, but if you want abundant blooms, July is the time to be honest about light. I aim for at least 6 hours of direct sun, and 8 is even better. Morning sun plus bright afternoon light works well in my yard, but a spot shaded after lunch by a fence or maple tree usually gives me more leaves than flowers.

If your plant is in a container, move it now rather than waiting. A large pot on a patio can often be shifted 3 to 6 feet into a brighter position and make a real difference within 2 weeks. If it is planted in the ground and heavily shaded, focus on maximizing everything else on this list, because sunlight is often the limiting factor when bloom production stalls.

2. Water deeply instead of sprinkling lightly

July heat can dry out moonflowers faster than people expect, especially when vines are actively climbing and setting buds. I water deeply 2 to 3 times per week in average summer weather, enough to moisten the soil about 6 to 8 inches down. In a heat wave with temperatures in the upper 80s to mid-90s, I check daily and often water containers every day.

For in-ground plants, a good target is roughly 1 to 1.5 inches of water per week total, including rain. For containers, I water until it runs from the drainage holes, then empty saucers if they stay full. Shallow watering encourages shallow roots, and those roots stress out fast. Deep watering helps keep growth even, which supports more buds and better flower opening at night.

Read more

Slow Cooker 3-Ingredient Brown Ale Pork Chops

These Brown Ale Pork Chops deliver deep, malty flavor with just three simple ingredients: bone-in pork chops, brown ale, and onion soup mix. Slow-simmered until fork-tender in a rich, savory gravy, they’re perfect over mashed potatoes, egg noodles, or buttered rice.
Inspired by pub-style comfort food—but made effortlessly in your slow cooker—this dish proves that bold flavor doesn’t require a long ingredient list.
Why You’ll Love This Recipe
🍻 Only 3 ingredients—pantry & fridge staples!
⏱️ 10 minutes prep, then walk away
💛 One slow cooker = easy cleanup
💸 Costs under $10—feeds 4 generously
🌾 Naturally nut-free & gluten-free (use GF beer & soup)
Ingredients You’ll Need
(6-quart slow cooker)
4 bone-in pork chops (about 1 inch thick)
12 oz (1 bottle) brown ale (like Newcastle, Samuel Smith’s, or any malty amber/brown ale)
1 (1 oz) packet dry onion soup mix (like Lipton)
💡 Pro Tips:Use bone-in chops—they stay juicier during long cooks.Pat chops dry before placing in slow cooker—helps them hold shape.Don’t stir after layering—keeps the sauce concentrated and chops intact.
Step-by-Step Instructions (Tender, Saucy, Foolproof)

For Complete Cooking STEPS Please Head On Over To Next Page Or Open button (>) and don’t forget to SHARE with your Facebook friends

Read more

Tropical Pineapple, Papaya, and Ginger Immunity Drink

If you are looking for a refreshing homemade  drink packed with tropical flavor, this pineapple, papaya, ginger, and citrus blend is a perfect choice. Made with natural ingredients and warm spices, this vibrant  beverage is loved for its delicious taste and comforting aroma. Whether served chilled on a hot afternoon or enjoyed warm during cooler days, this fruity drink brings together sweetness, spice, and freshness in every sip.

Sampling Specialty Craft Beverages

This recipe combines juicy pineapple, ripe papaya, mandarin oranges, ginger, cloves, and cinnamon to create a naturally flavorful drink that is easy to prepare at home. The result is a bright orange beverage with a smooth texture and a rich tropical taste.

Why This Tropical  Drink Is So Popular

Homemade fruit drinks have become increasingly popular because they are simple to make and allow people to enjoy natural ingredients without artificial flavors or preservatives. This recipe stands out thanks to its unique mix of tropical fruits and warming spices.

Pineapple adds sweetness and a refreshing tangy flavor, while papaya contributes a smooth texture and subtle tropical notes. Fresh ginger brings warmth and spice, creating a balanced drink that feels comforting and energizing at the same time.

Commissioning Custom Graphic Artwork

The addition of cinnamon sticks and cloves gives the beverage a deeper aroma that makes it especially enjoyable during colder seasons. Mandarin oranges provide extra citrus flavor and brighten the entire recipe.

Ingredients for Pineapple Papaya Ginger Drink

To make this delicious homemade tropical drink, you will need:

  • 1 medium ripe papaya
  • 1 fresh pineapple
  • 4 mandarin oranges
  • 1 piece fresh ginger
  • 1 cinnamon stick
  • 1 teaspoon whole cloves
  • 4 cups water
  • Honey or natural sweetener (optional)

Using ripe fruit is important because it naturally enhances the sweetness and flavor of the drink.

Read more

What Do the Lines on Bath Towels Really Mean?

  • What Do the Lines on Bath Towels Really Mean? The Surprisingly Clever Design Most People Never Notice

Take a close look at almost any bath towel in your home, and you’ll probably notice one or more horizontal bands woven into the fabric. Some towels have a single decorative stripe near each end, while others feature several raised or flat lines across the towel. Most people assume they’re simply there to make the towel look more stylish. While appearance is certainly part of the story, those woven lines actually serve several practical purposes that most people never realize.

For decades, towel manufacturers have used these bands as part of the towel’s engineering. They aren’t random decorations, and they aren’t leftover marks from the manufacturing process. Instead, they’re carefully designed sections that improve durability, maintain the towel’s shape, and even help it perform better over years of washing and drying.

Understanding what these lines do offers an interesting glimpse into how something as ordinary as a bath towel is carefully designed for everyday use. It also explains why high-quality towels often feature these bands while cheaper towels may not.

The Decorative Border Isn’t Just Decoration

The most recognizable lines are known in the textile industry as dobby borders. They’re created using a specialized weaving technique that produces a flatter, tighter section of fabric compared with the plush loops that make up the rest of the towel.

At first glance, the border simply adds a clean, elegant appearance. Hotels, luxury brands, and premium home collections often use decorative borders to create a more polished look.

But the design serves a much bigger purpose than aesthetics.

Helping the Towel Keep Its Shape

One of the biggest jobs of the woven border is structural support.

Every time you wash a towel, thousands of cotton fibers absorb water, expand, shrink, twist, and dry again. Over months or years, this constant cycle places stress on the fabric.

The denser woven bands help stabilize the towel, reducing distortion and helping it stay rectangular instead of stretching unevenly over time.

This reinforcement is especially useful for larger bath towels, which carry more weight when soaked with water.

Reducing Curling at the Ends

Without reinforced borders, towel edges would be much more likely to curl, wrinkle, or become misshapen after repeated washing.

The woven bands distribute tension across the fabric, helping the towel lie flatter after drying.

That’s one reason quality towels often continue looking neat even after years of regular use.

Protecting Against Fraying

The borders also strengthen areas that experience the greatest wear.

When towels are folded, hung, pulled from shelves, tossed into washing machines, and handled every day, the edges absorb much of the stress.

The tightly woven sections help reduce loose threads and slow down fraying, extending the towel’s lifespan.

The simple woven bands most people ignore are actually one of the reasons a good towel can last for years without losing its shape.

continued on the next page’

Read more

Natural and Powerful Homemade Weed Control

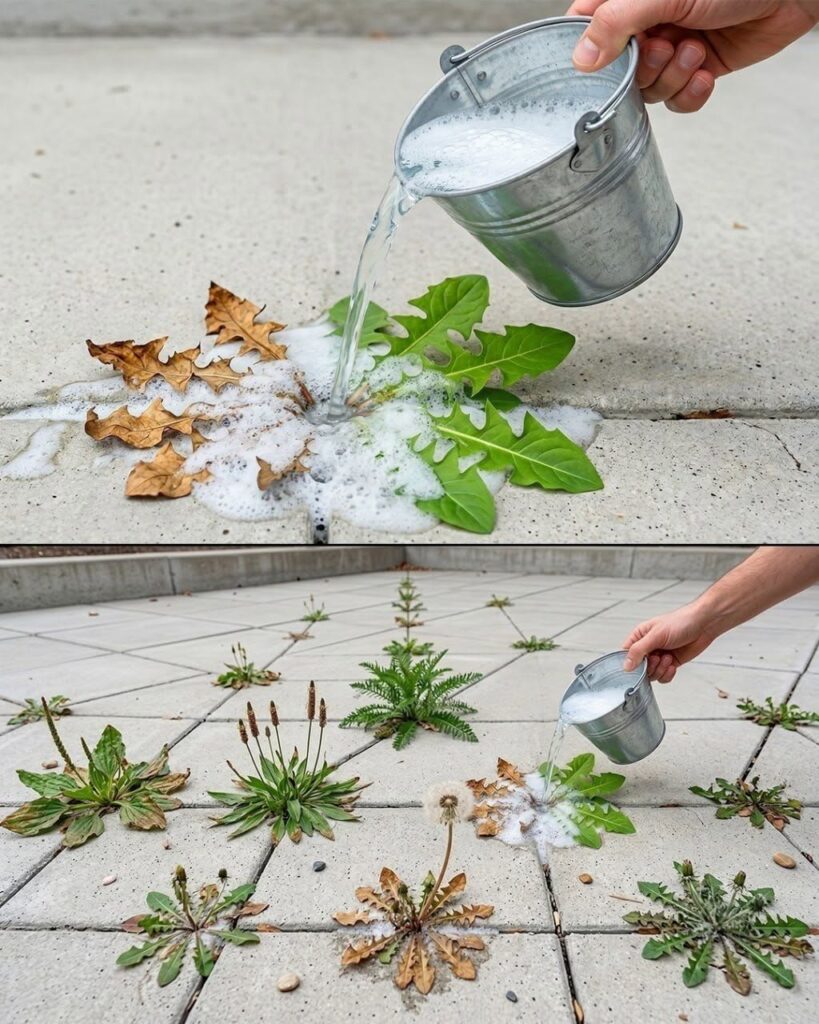
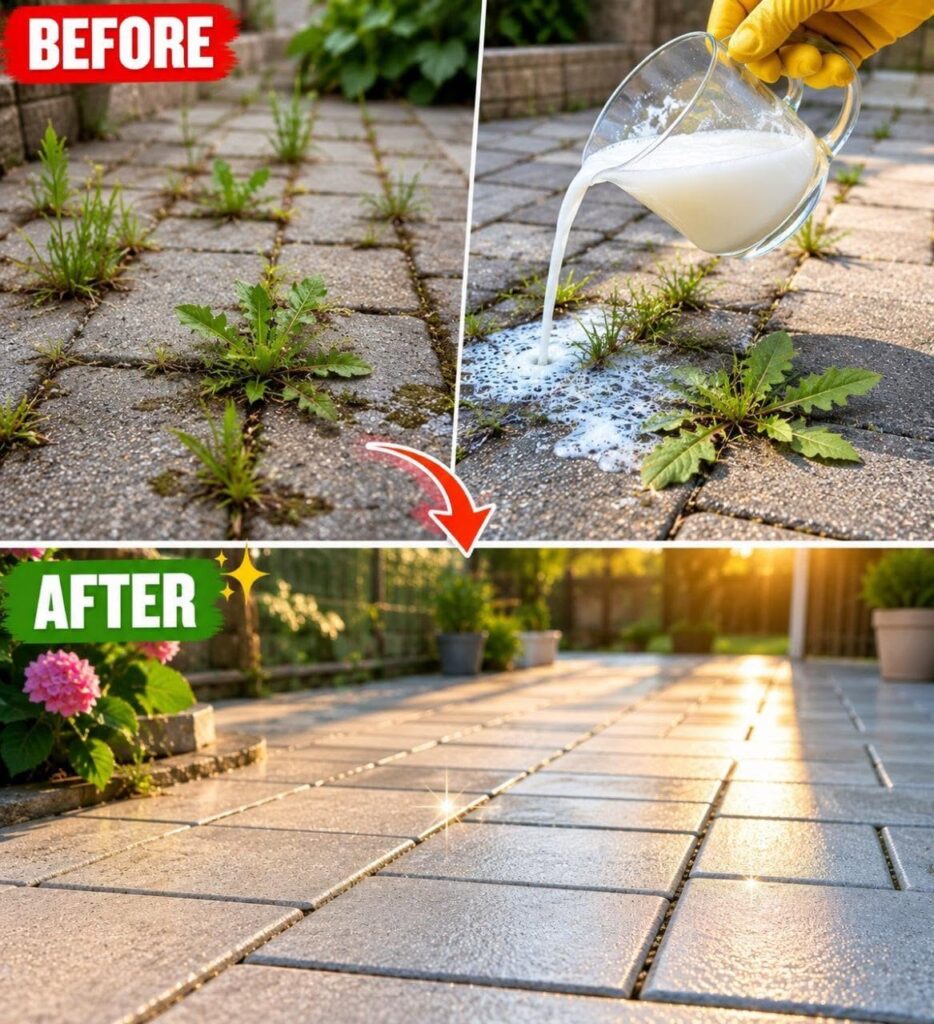
Weeds are one of the most frustrating problems for homeowners, gardeners, and anyone who takes pride in maintaining clean outdoor spaces. They appear between patio stones, invade driveways, creep into flower beds, and seem capable of growing almost anywhere. No matter how often they are removed, they often return stronger than before.


Many people turn to commercial weed killers for quick results. While these products can be effective, they often contain chemicals that raise concerns about pets, children, beneficial insects, and the surrounding environment. As a result, interest in homemade alternatives has grown dramatically in recent years.

One popular solution uses common household ingredients that many people already have in their kitchens. When combined correctly, these ingredients can create a powerful weed-control spray capable of quickly damaging unwanted plants. However, understanding how the mixture works is essential if you want to use it effectively and avoid causing long-term damage to your property.


Why Homemade Weed Solutions Are Becoming More Popular
The appeal of homemade weed control is simple. The ingredients are inexpensive, easy to find, and can often be mixed together in just a few minutes. Many homeowners appreciate having an alternative that does not require purchasing specialized garden chemicals.

Another reason for their popularity is the desire to reduce unnecessary chemical exposure around homes and outdoor living spaces. Patios, sidewalks, and driveways are areas where people, pets, and children spend time, making many homeowners more cautious about what they spray.


However, natural does not automatically mean harmless. Some homemade mixtures can be surprisingly powerful and should be used with care.

The Four Ingredients Behind This Popular Weed Spray
This homemade mixture relies on four simple ingredients that work together to attack weeds in different ways.

White Vinegar

Vinegar contains acetic acid, which damages the outer surfaces of plant leaves. When sprayed directly onto weeds, it removes moisture from the plant tissue and causes visible wilting.


Kitchen Salt

Salt is one of the strongest ingredients in the mixture. It interferes with a plant’s ability to manage water, leading to severe dehydration. This can make it difficult for weeds to recover after treatment.

Citric Acid

Citric acid, commonly associated with citrus fruits, increases the mixture’s effectiveness by further damaging plant tissue when it comes into contact with leaves.


Liquid Dish Soap

Many plant leaves have a waxy coating that causes liquids to slide off. Dish soap helps the spray stick to the surface of the leaves, allowing the other ingredients to remain in contact with the plant longer.

Although these ingredients seem simple, the way they work together may surprise you.
How the Mixture Actually Works
Many people assume this homemade spray completely destroys weeds from root to tip. The reality is more complicated.


This mixture works primarily as a contact treatment. In other words, it damages the parts of the plant that it directly touches. Leaves and stems often begin to dry out quickly after application, especially during hot weather.

However, deep root systems may survive the initial treatment. Perennial weeds with extensive underground structures can sometimes send up new growth even after the visible parts have been destroyed.

This is why repeat applications are often necessary. Each treatment weakens the plant further, eventually exhausting its ability to recover.


What You Need
To prepare this homemade weed-control solution, gather the following ingredients:

300 milliliters of water

1 tablespoon citric acid

200 milliliters white vinegar

1 tablespoon kitchen salt


1 tablespoon liquid dish soap

1 additional liter of water

How to Prepare the Mixture
Step 1: Pour the 300 milliliters of water into a container.

Step 2: Add the citric acid, vinegar, salt, and dish soap.

Step 3: Stir thoroughly until the ingredients are evenly mixed.


Step 4: Allow the solution to sit for several hours so the solid ingredients can dissolve completely.

Step 5: If necessary, strain the liquid through a fine cloth or kitchen strainer to remove any undissolved particles.

Step 6: Add the remaining liter of water and mix again.

Step 7: Pour the finished solution into a spray bottle or garden sprayer.

Best Conditions for Application
Weather plays a major role in the effectiveness of this homemade treatment.

Sunny days typically produce the best results because heat accelerates the drying process. Many users notice visible wilting within hours when weeds are treated during warm weather.

Calm conditions are equally important. Wind can easily carry the spray onto nearby grass, flowers, vegetables, or ornamental plants that you want to protect.

Before spraying large areas, there is one important factor that every homeowner should understand.

The Hidden Risk of Salt
Salt is what makes this mixture especially effective, but it is also what requires the greatest caution.

Unlike vinegar, which breaks down relatively quickly, salt can remain in the soil for long periods. Excessive salt buildup can create conditions that make it difficult for any plants to grow in the treated area.

For this reason, many gardening experts recommend limiting salt-based treatments to places where vegetation is unwanted permanently.

Where This Spray Works Best
Ideal locations include:

• Driveway cracks

• Sidewalk edges

• Gravel paths

• Patio joints

• Walkways

These areas typically benefit from long-term weed suppression and are less likely to be used for future planting.

Where You Should Avoid Using It
Be cautious when using this mixture near:

• Vegetable gardens

• Flower beds

• Newly planted shrubs

• Lawn areas

• Tree root zones

In these locations, salt may negatively affect desirable plants and soil quality.

Tips for Better Results
Always spray directly onto the weed leaves rather than soaking the surrounding soil.

Treat weeds when they are actively growing and have plenty of leaf surface exposed.

Repeat applications may be necessary for particularly stubborn species.

Monitor treated areas regularly and remove dead plant material when appropriate.

The Bottom Line
This homemade weed-control mixture combines vinegar, salt, citric acid, and dish soap to create a powerful solution that can quickly damage unwanted weeds. It is affordable, easy to prepare, and especially useful for driveways, sidewalks, patios, and other hardscape areas.

However, its effectiveness comes with responsibility. Understanding the long-term effects of salt and applying the mixture carefully can help you maintain clean outdoor spaces while avoiding unnecessary damage to your soil and desirable plants.

Used correctly, this simple homemade spray can become a valuable tool in your ongoing battle against stubborn weeds.


Read more

error: Content is protected !!