7 Secrets for the Best Orange Sponge Cake
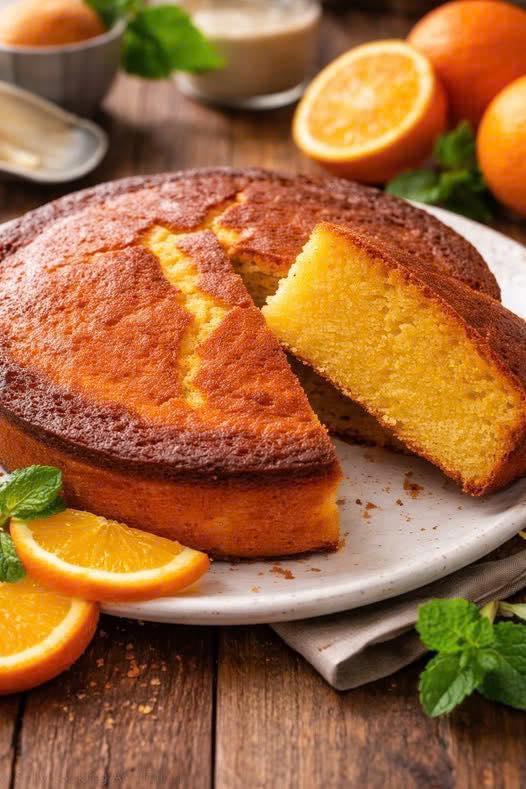
Super Moist Orange Sponge Cake Recipe Few desserts are as comforting as a freshly baked orange sponge cake. Its soft texture, light crumb, and refreshing citrus aroma make it a …
Super Moist Orange Sponge Cake Recipe Few desserts are as comforting as a freshly baked orange sponge cake. Its soft texture, light crumb, and refreshing citrus aroma make it a …
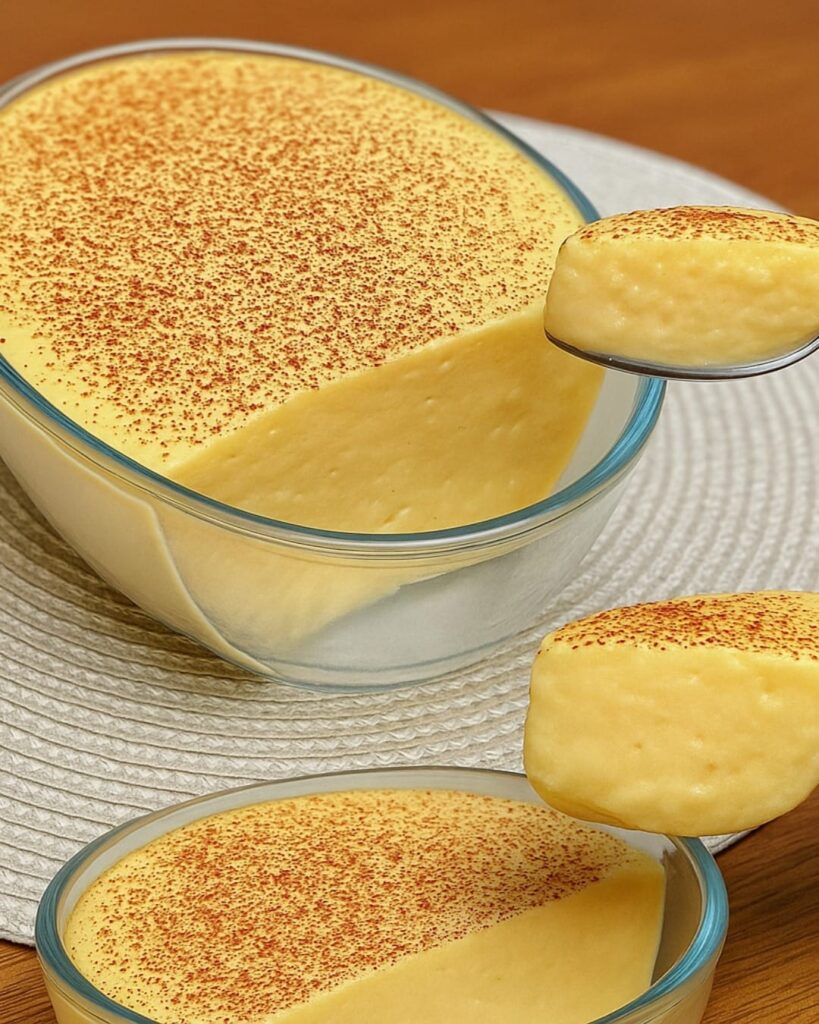
Homemade Vanilla Dessert Cream Recipe Introduction If you love simple homemade desserts that taste rich and comforting, vanilla dessert cream is the perfect treat. This classic creamy dessert is smooth, …

Simple Kitchen Tricks Professional Chefs Use at Home Cooking at home can sometimes feel slow and complicated, especially when you are trying to prepare a full meal after a long …
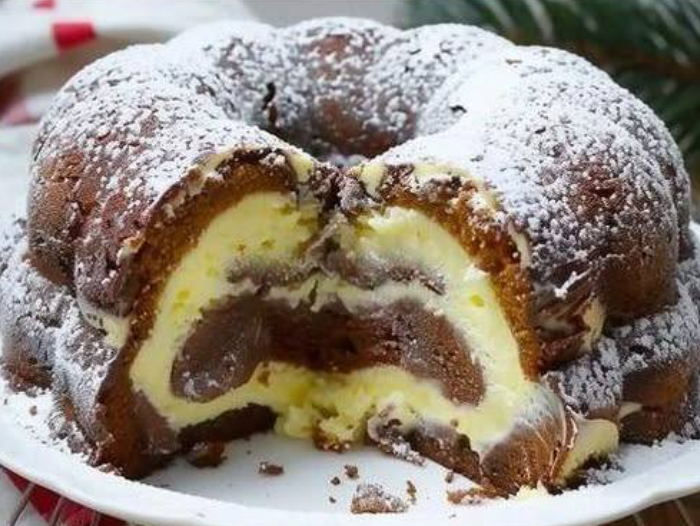
Quick Bundt Cake Recipe: Soft, Creamy, and Ready Fast Sometimes you want a homemade cake but don’t have hours to spend in the kitchen. That’s exactly where this quick bundt …
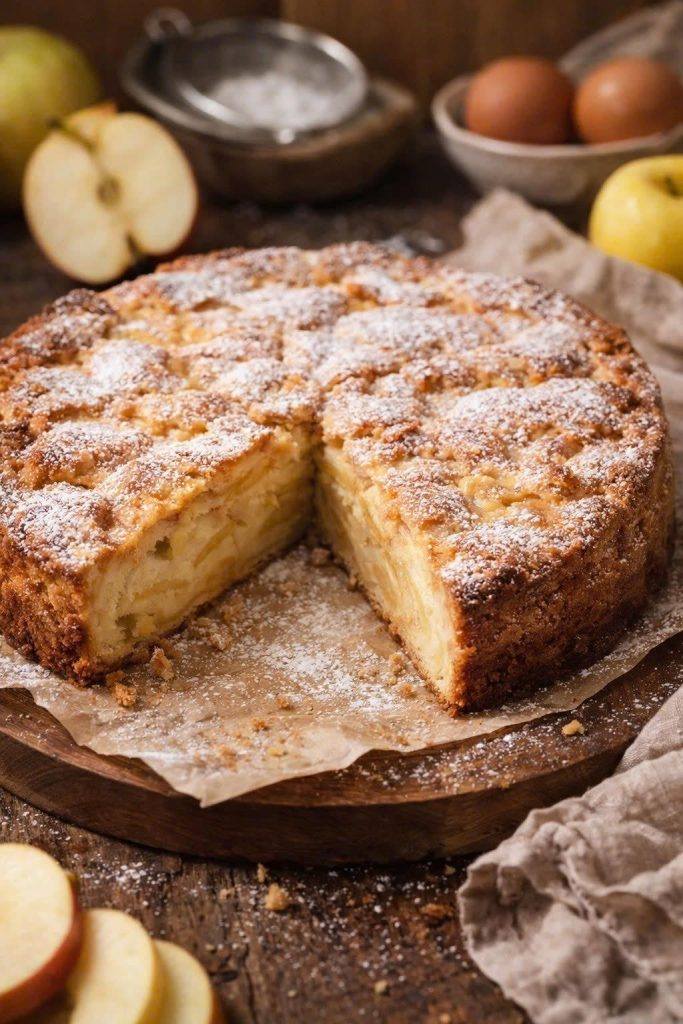
Best Moist Apple Cake Recipe: 7 Amazing Secrets If you are looking for the best moist apple cake recipe, you are in the right place. This cake is incredibly soft, …
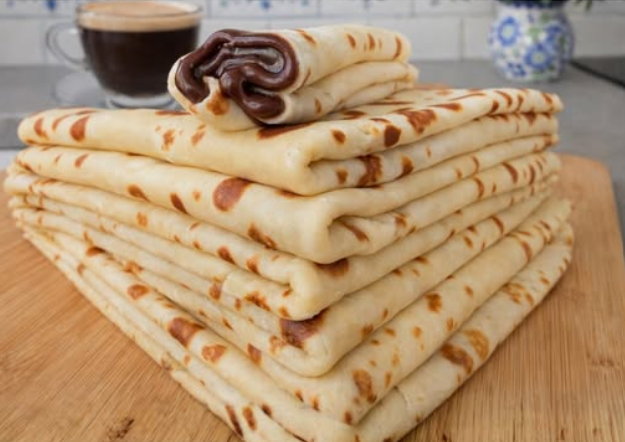
✅ Introduction This homemade crepe recipe is the ultimate guide to making soft, thin, and perfectly balanced crepes at home. Whether you prefer sweet or savory fillings, this easy and …
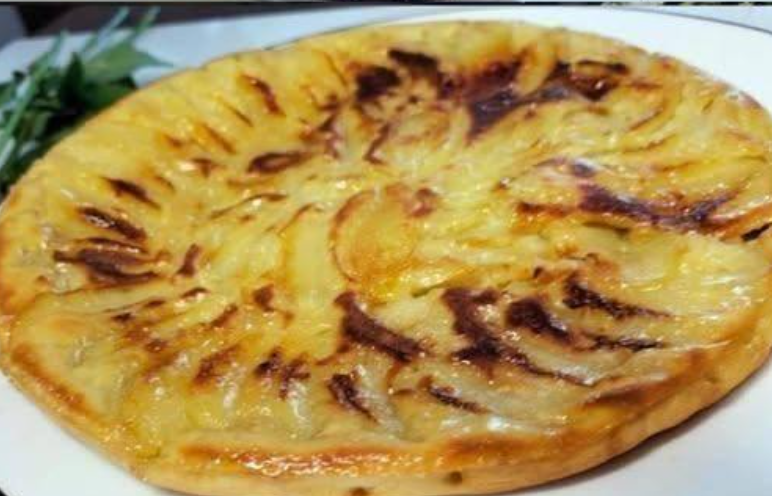
Apple and Lemon Crepe Recipe: The Most Irresistibly Fluffy Breakfast Treat If you are looking for a breakfast that is light, fragrant, and incredibly satisfying, this apple and lemon crepe …
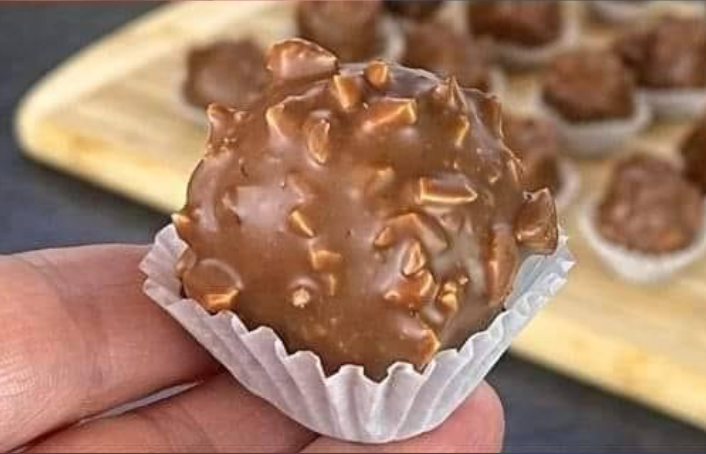
No Sugar Chocolate Date Truffles – No Oven, Guilt-Free & Irresistible If you’re looking for a dessert that is naturally sweet, requires no oven, and takes just minutes to prepare, …
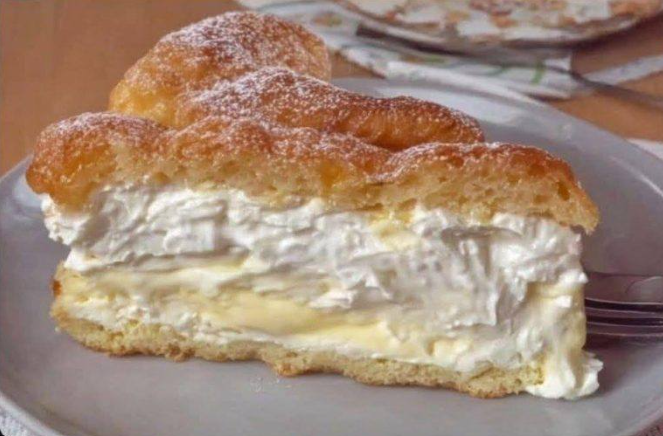
Italian Cream Stuffed Brioche – The Ultimate Bakery-Style Dessert There is something undeniably magical about walking into an Italian bakery and smelling freshly baked brioche. That soft golden crust, the …
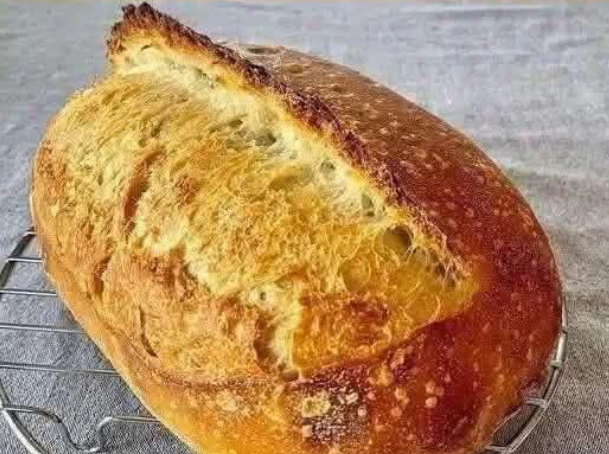
Classic Homemade Bread: Soft, Easy and Delicious Nothing compares to the aroma of classic homemade bread baking in your oven. That warm, comforting smell, the golden crust cracking slightly as …